Log in to cPanel using your username and your cPanel password at http://yourdomain.com/cpanel, where yourdomain.com is your domain name.
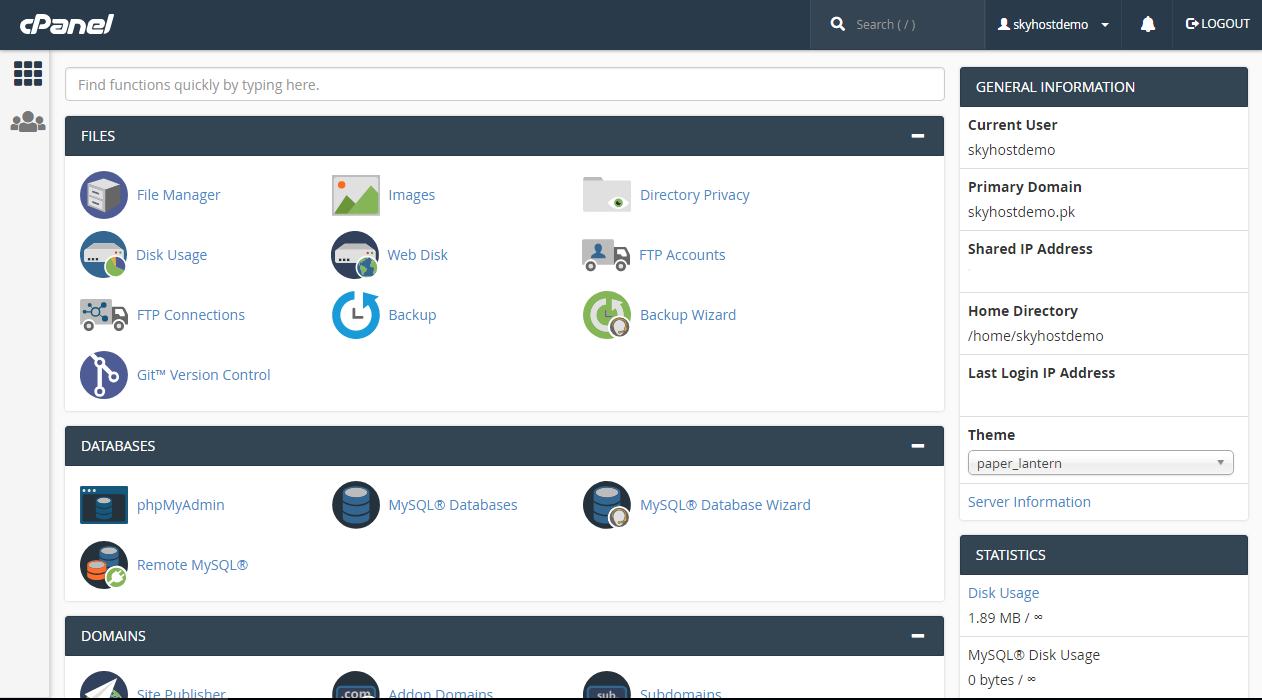
Just Scroll Down Till Email Menu
Click On Email Accounts
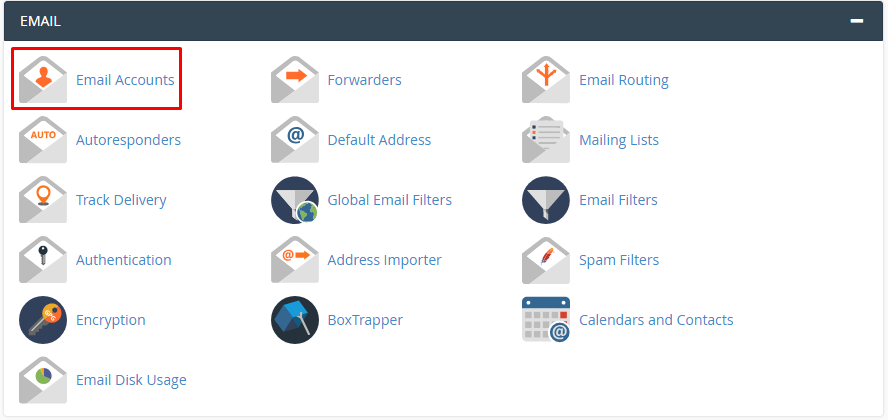
First You Need to Create an Email Account, You can read our article here for how to create an email account
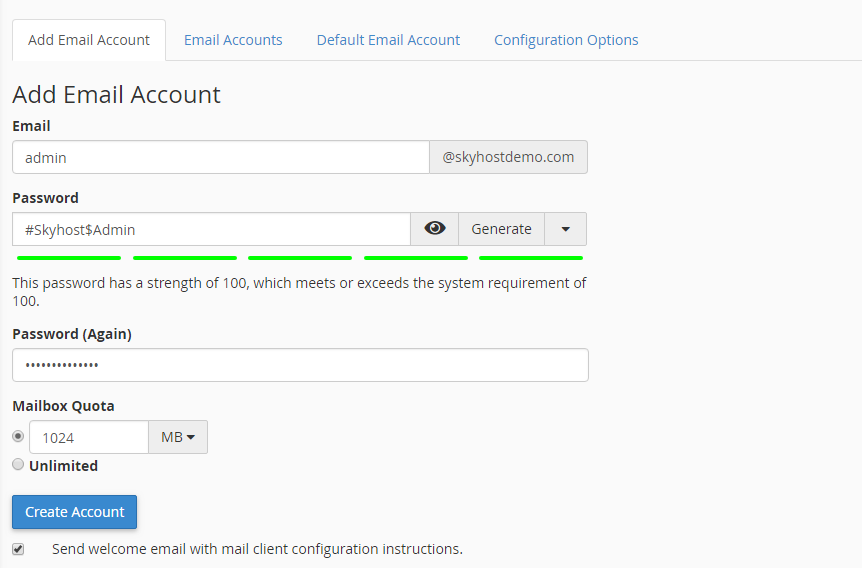
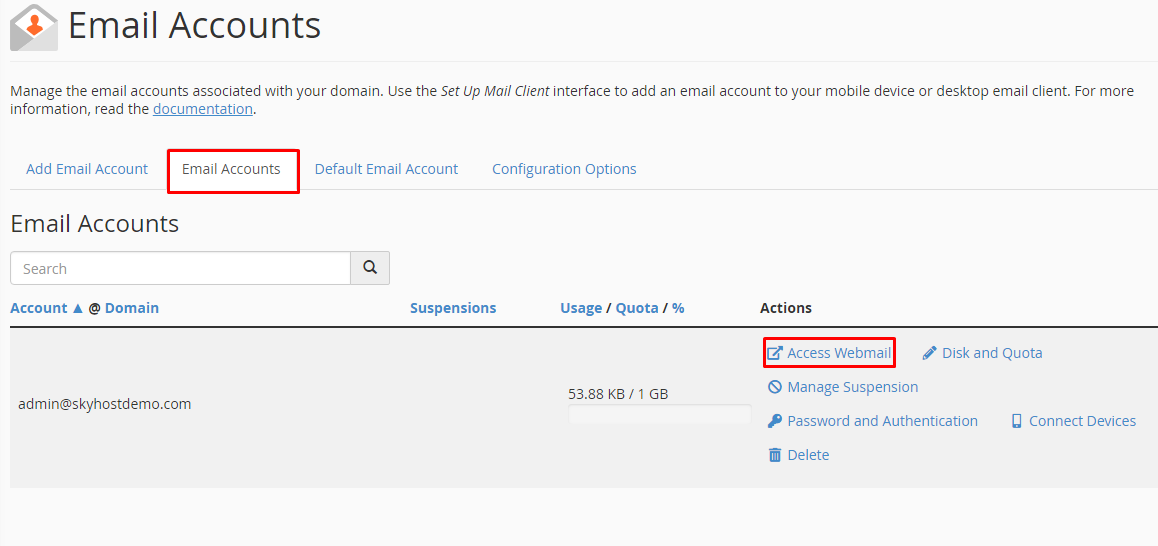
After create email account you need to click on Next Tab Named Email Accounts. It will show all created emails, now just click on
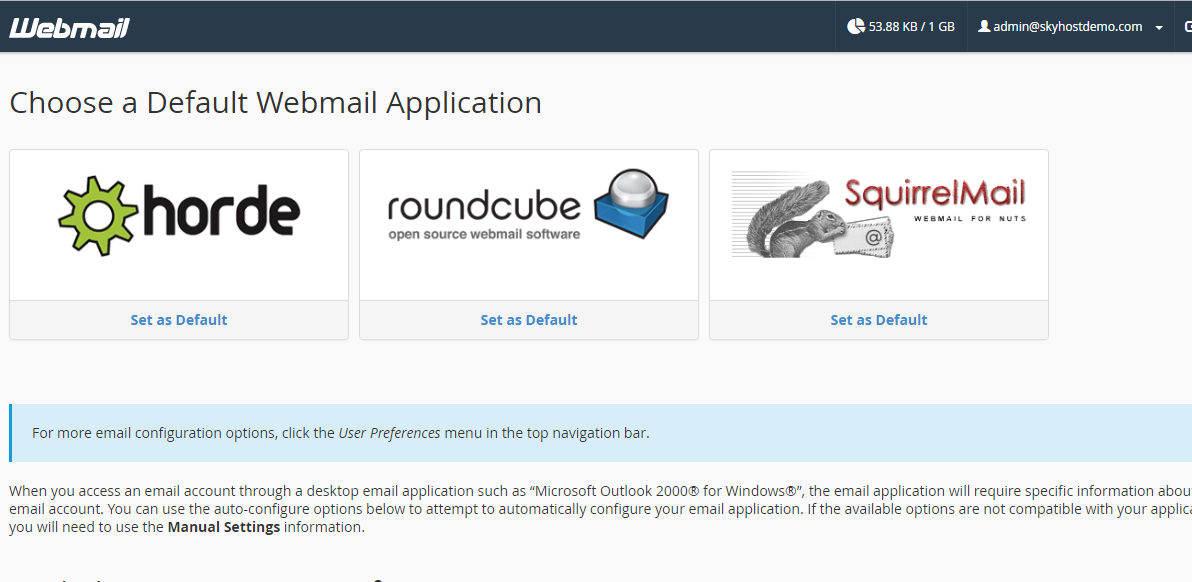
Access Webmail to check all configuration for the email account.
You will see Webmail Option and List of Webmail Application, now just scroll down till last you will see configuration option.
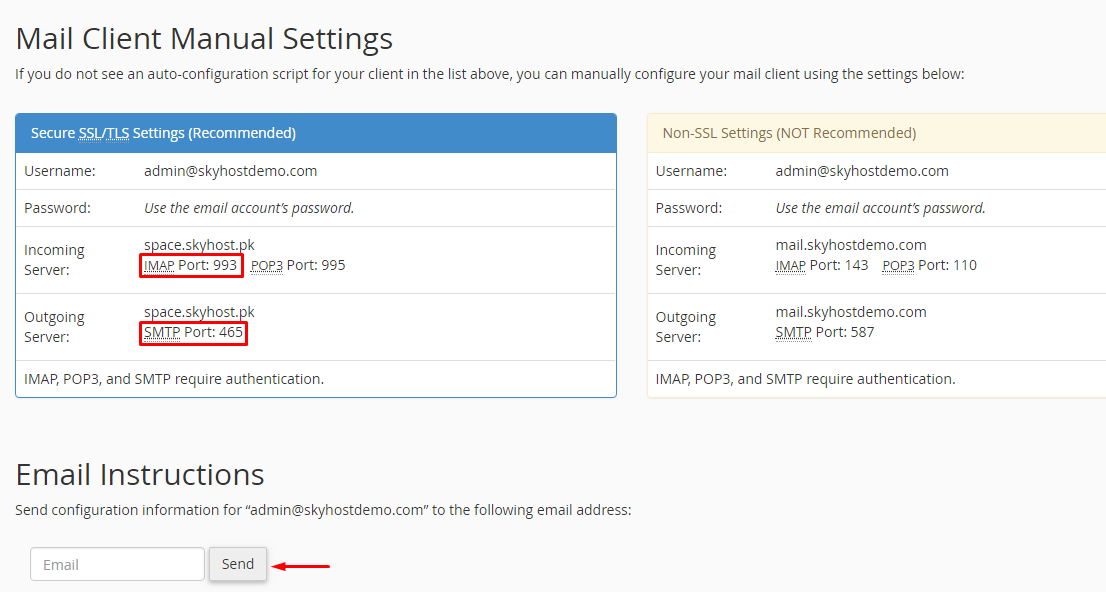
Here you need 3 things to know.
First is connection type E.g. SSL/Non-SSL (We Recommend to use SSL connection for secure connection type.
Second is Incoming Server Connection Hostname/IP Address/Domain Name (In our example it is "space.skyhost.pk", after succesfully updated Nameservers or DNS records you can use your own Domain as Server Name)
Third is Mail Client Port.
Incoming Server Port: There are 2 ports for incoming email IMAP or POP3.
IMAP (Internet Message Access Protocol) always syncs with mail server so that any changes you make in your mail client (Microsoft Outlook, Gmail) will instantly appear on your webmail inbox.
POP3 (Post Office Protocol) your mail client account and mail server are not synced. It means whatever changes you make to your email account in the mail client will not be transferred to the webmail inbox.
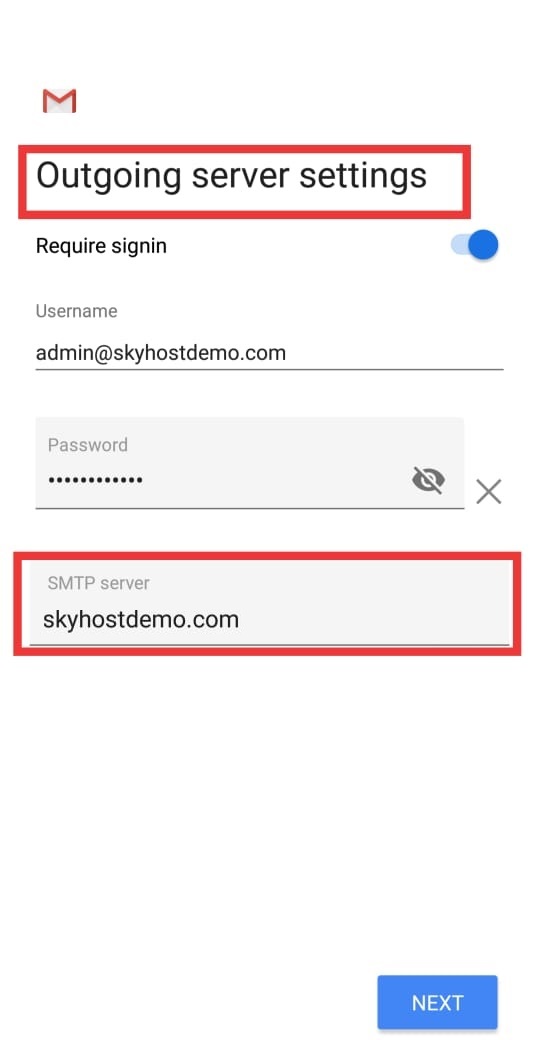
Outgoing Server: This configuration setting is responsible for outgoing emails.
In this example we will choose IMAP Protocol and Port is by default 993, so we are not going to change it while configure our Gmail App.
How to add a A Domain Email Account to your Android phone
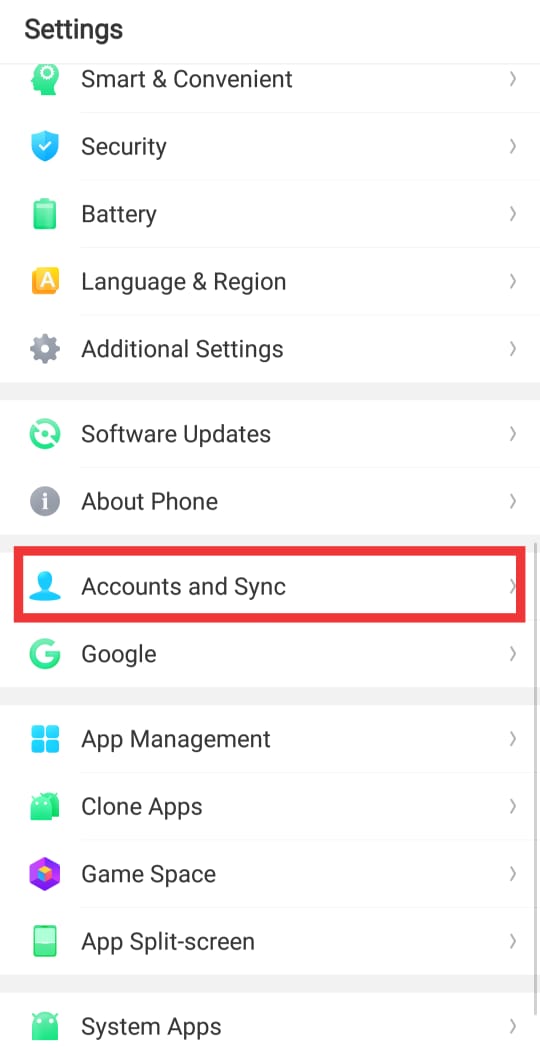
1. Launch Settings from your Home screen, the app drawer, or the Notification Shade.
2. Swipe up in the Settings menu to scroll down.
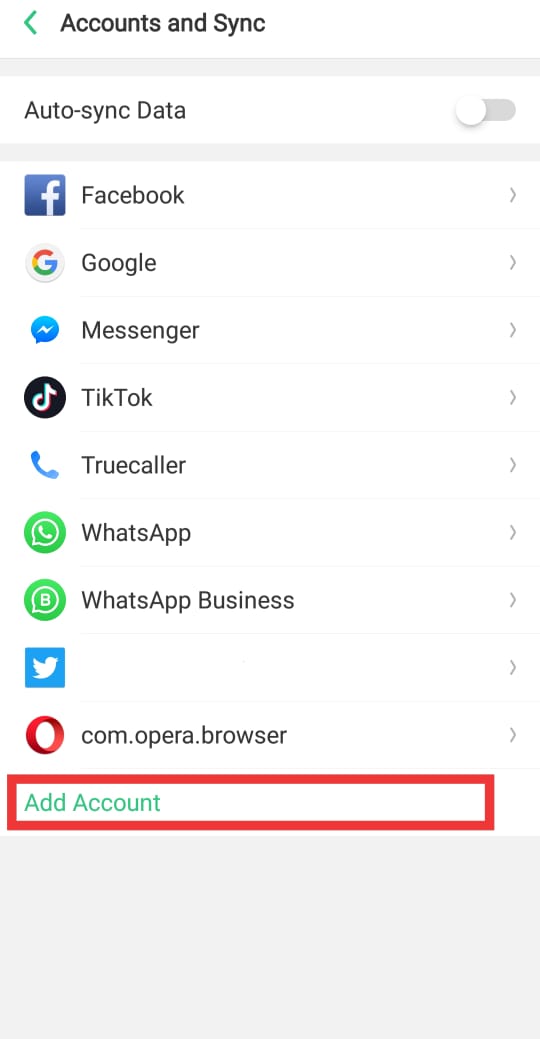
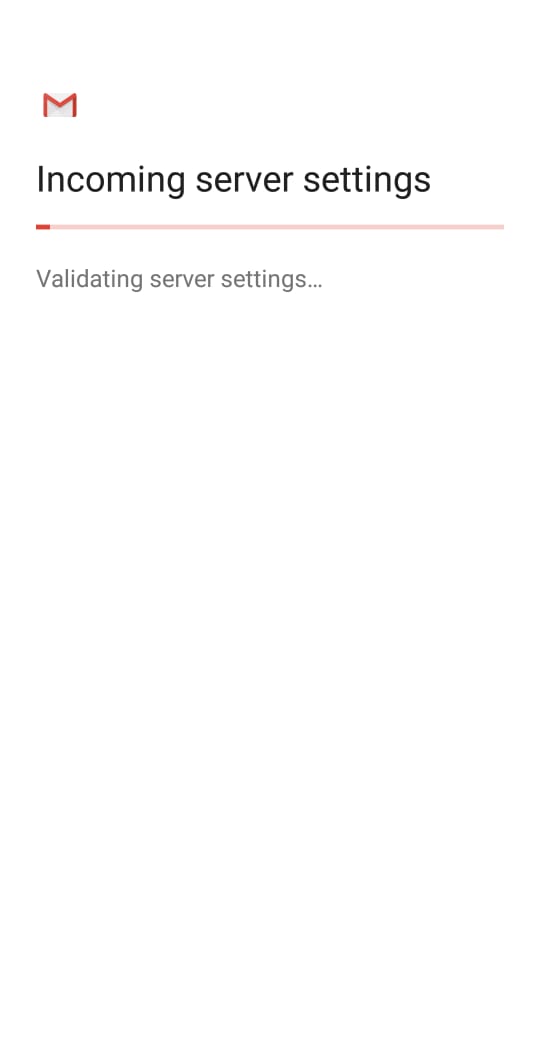
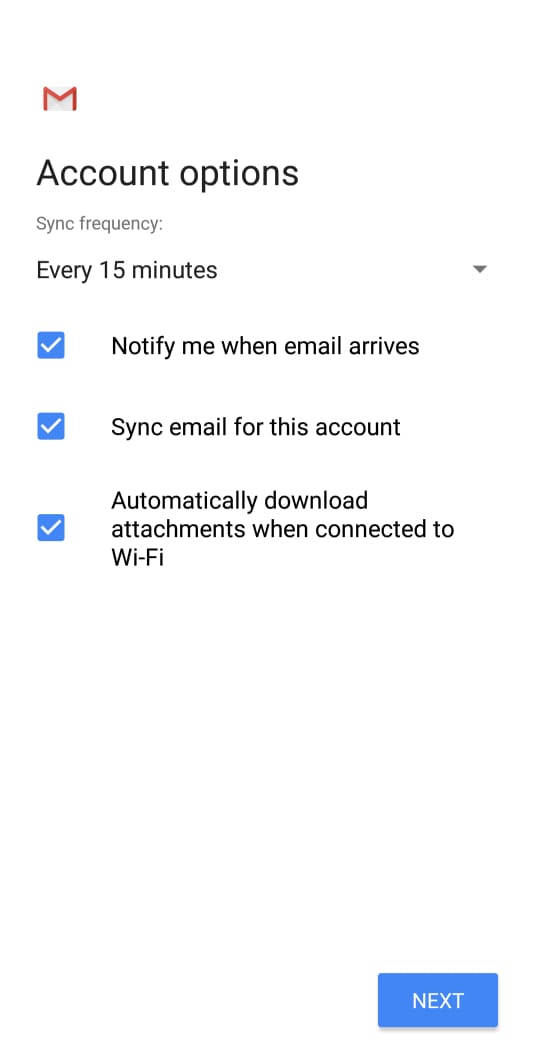
3. Tap Accounts and follow as per screenshots.
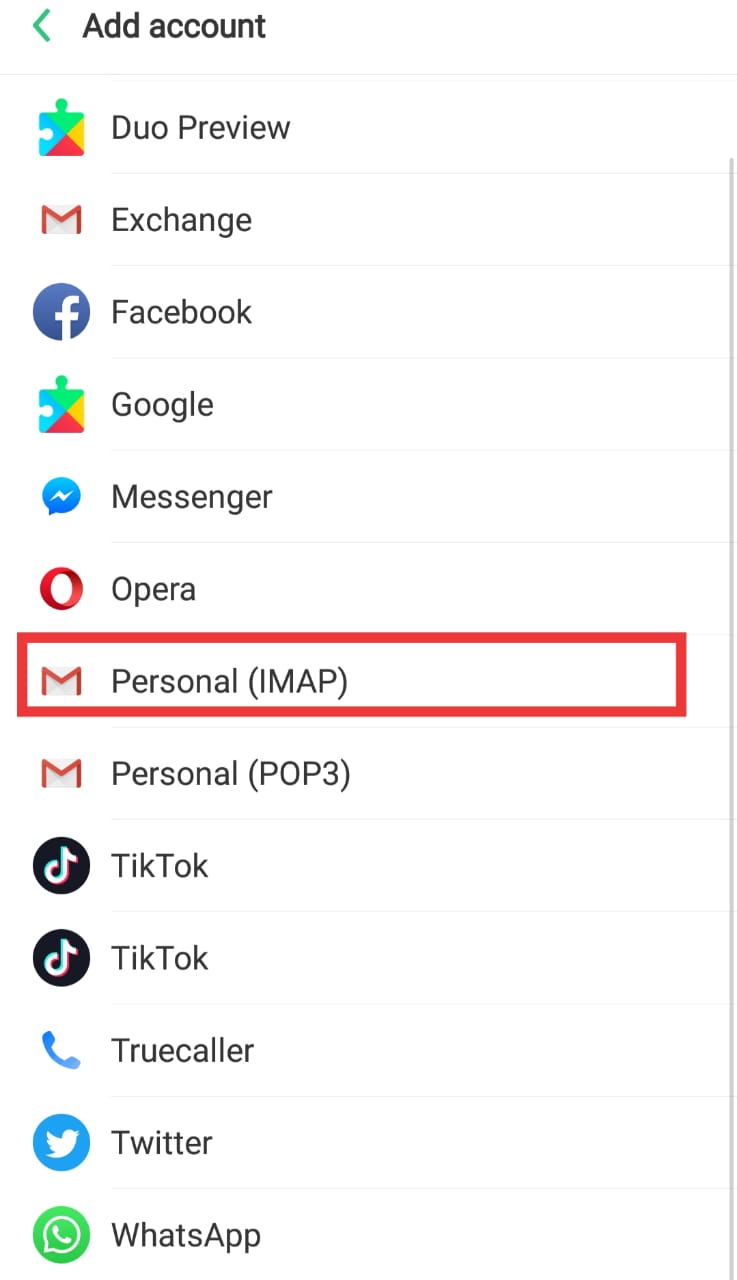
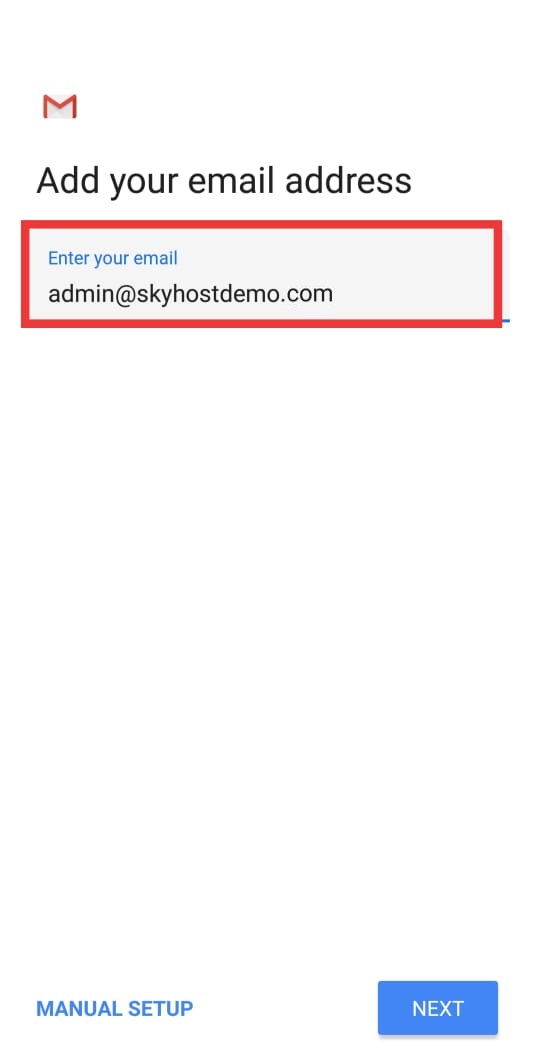
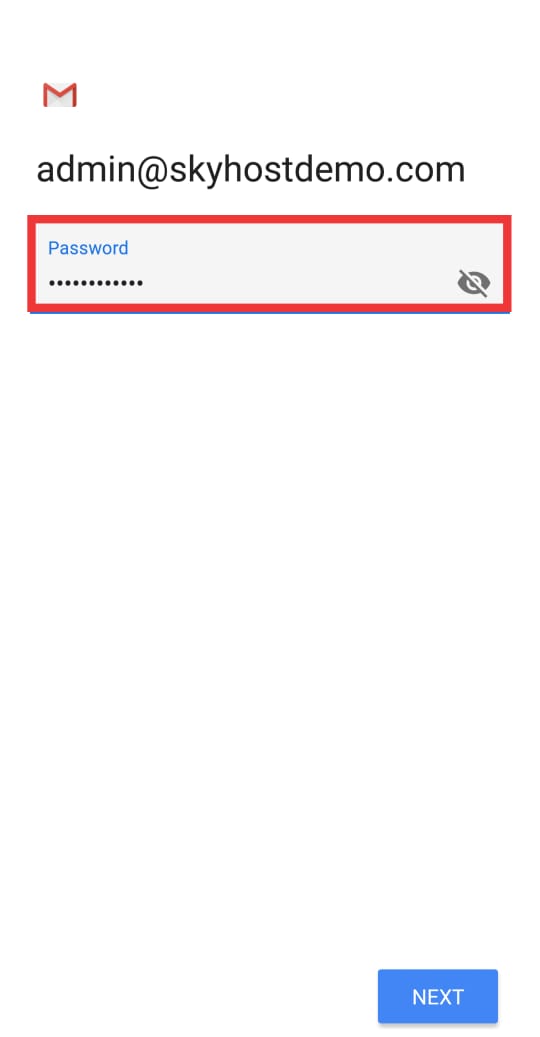
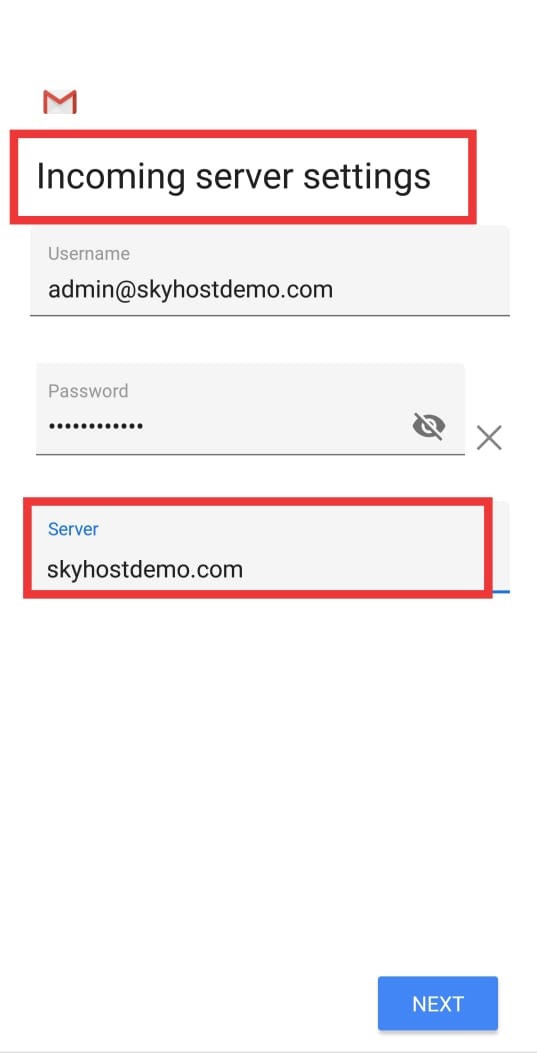
 t
t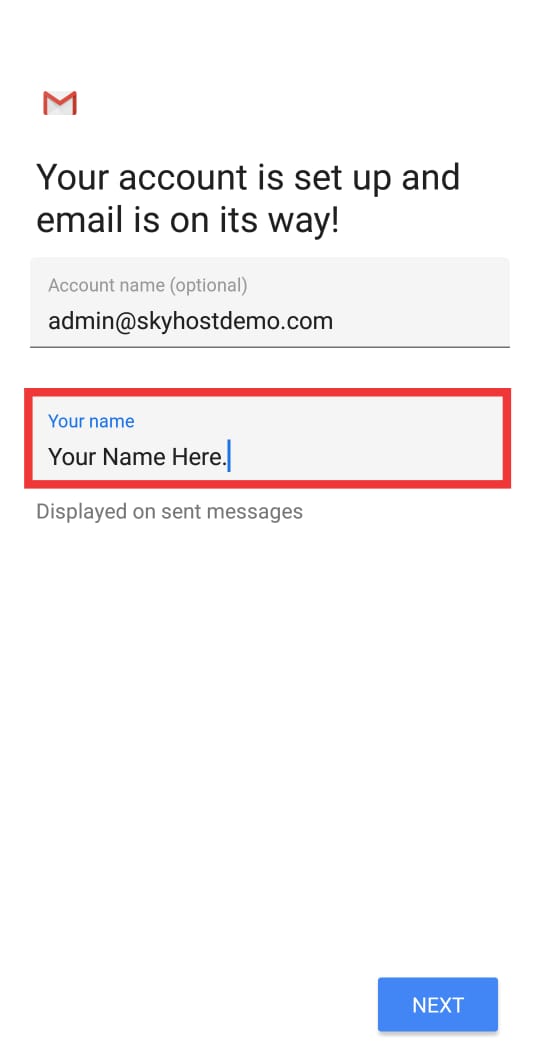
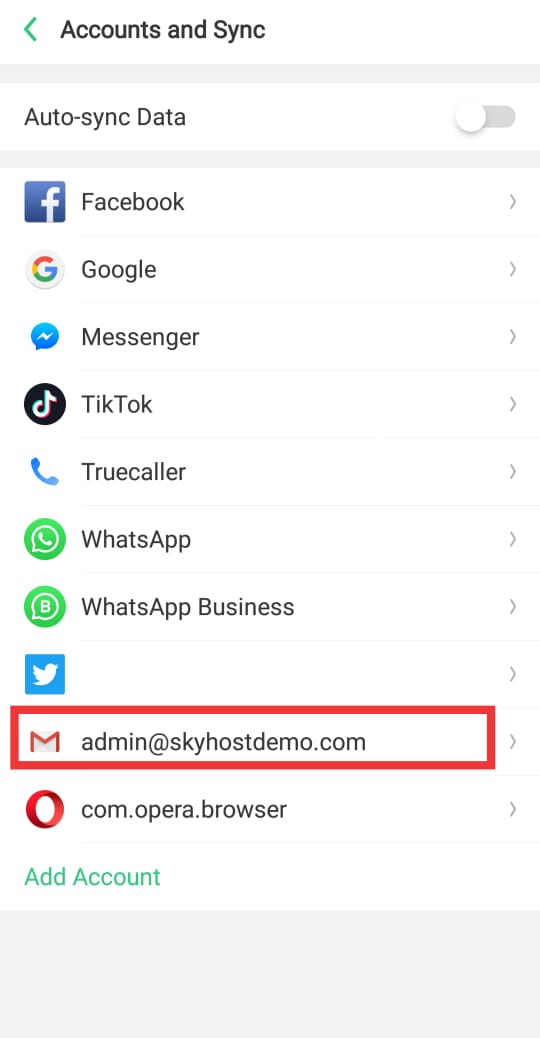
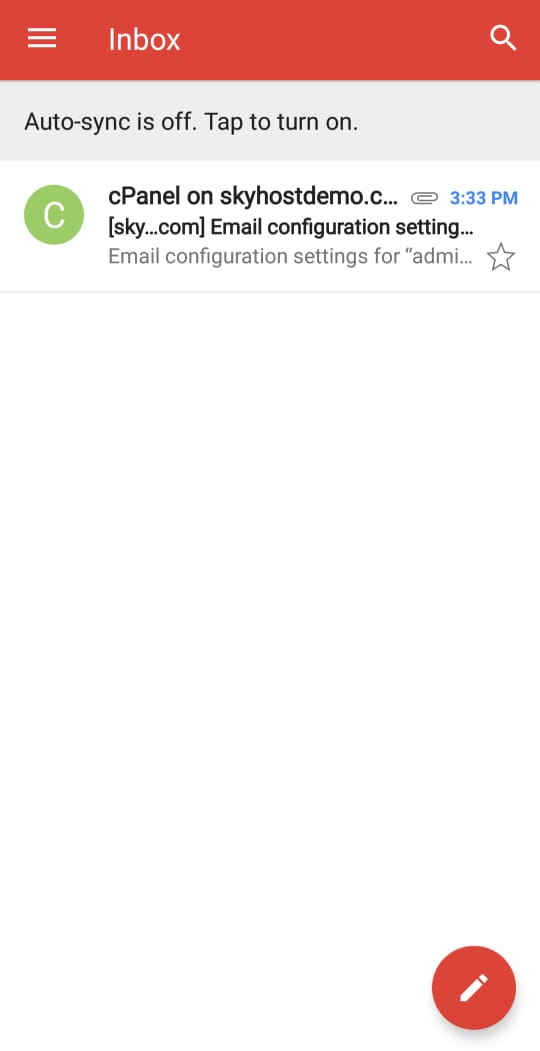
Now you can send & recieve email from your Gmail App.

